
The whole theme of this video and project came though another woodworking buddy, but when I first saw his version my brain flood with other ideas I wanted to try. In this video I stopped at only 3, but I have many other "collected" pieces of driftwood, old firewood chunks, galls and figured wood that I would like to try.
My first version happened when I drove by and area near me where there was some road allowance clearing and I instantly spotted some smaller trees or brush that when inverted would super cool wooden stands.
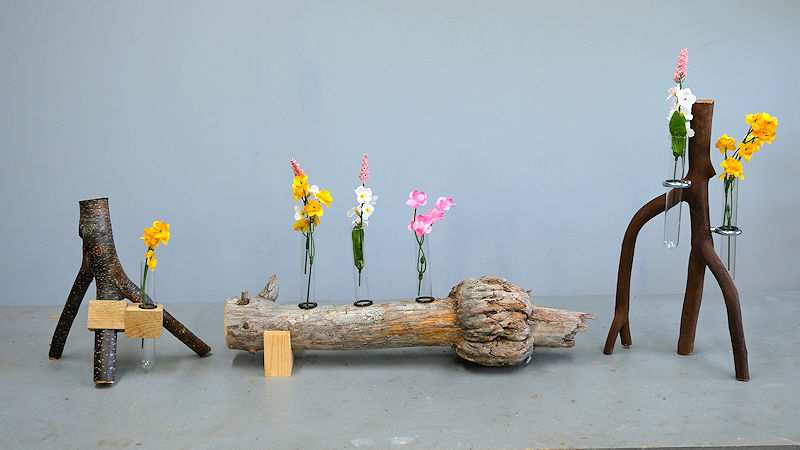
The picture below shows the 3 versions I made, sadly, like other projects, pictures to not really capture the how these look because you can't really see the 3 dimensional affect of the wood and open space of the legs and how it all comes together.
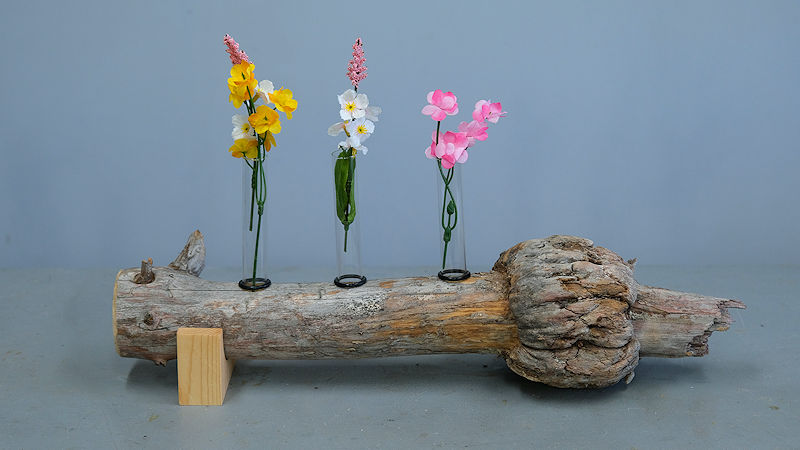
Easily my favorite version was this vertical one with 3 test tubes. This piece of wood has been sitting around in my wood storage area for 7 or so years. I never could figure out what to do with it. I had tested cutting into galls, both from the sides and the top, and none of these cuts have a "WOW" factor. The cuts are pretty boring compared to the whole, uncut gall.
When my wife spotted this version ... still being made in my workshop, she said "that ones going on the coffee table in the living room" ... and thats where it now lives.
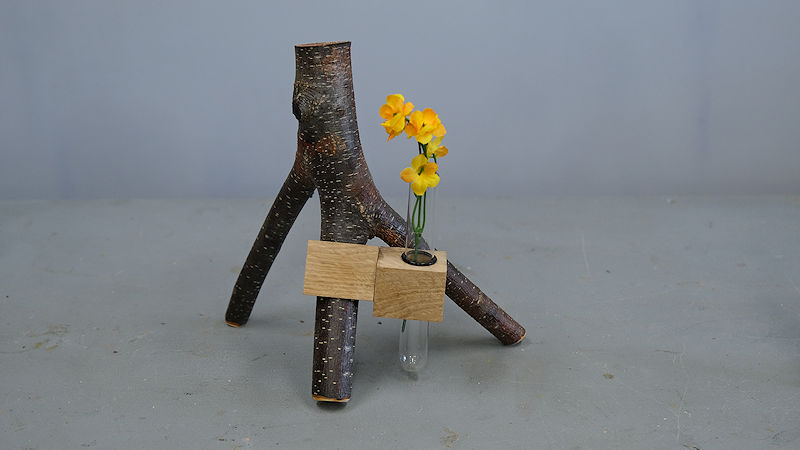
Below is the first version I made, and I spent a lot of time on this version. I wanted add square elements to the roundness of the tree branches to contrast hard sides with round edges. After making this version, I realized there were other way to make the same thing without a magnet that were quicker and equally attractive. What I really like with this one is with the magnet, I could acutally hang this little flower holder on any steel based object, which, alone, opens a whole new set of ideas.
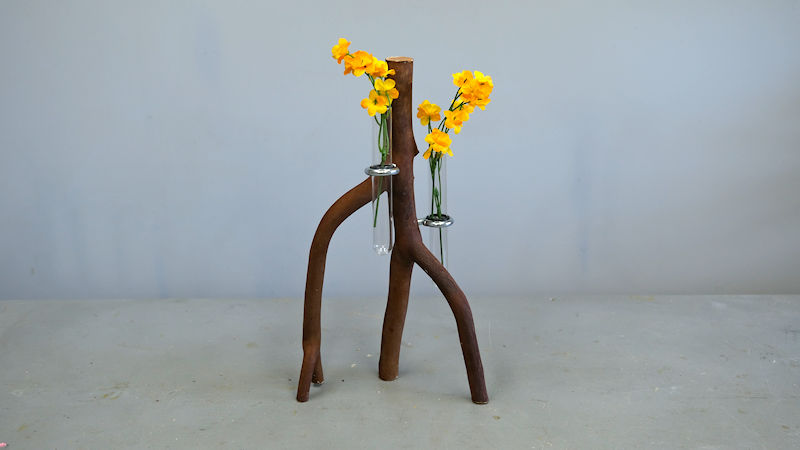
My second version I decided to combine chrome steel with wood, by adding steel eye hooks to the wood. This particular wood is Arbutus or Madrona, a very hard wood that sheds it's bark every year and has a very deep colored red and smooth bark. A very interesting wood, but diffucult to work with. The eye hooks I purchased were a tiny bit smaller than the test tubes, but I easily expanded them, just slightly by using a flat steel chices and round steel chisel inside the hoop and so as when I lightly pounded them with a hammer, it expands the eye part, every so slightly, very easy to do compared to any other methods I tried.
I should also note, all of these tree branches I selected were "Green" and I coated the cut ends with a sealent (in my case I round Starbond CA glue was quick and easy and worked instantly, and NONE of these branches have cracked because all the moisture in the branches is being forced ... slowly ... out the sides and not out cut end, so checking and cracking is cut to minimum, or not at all.
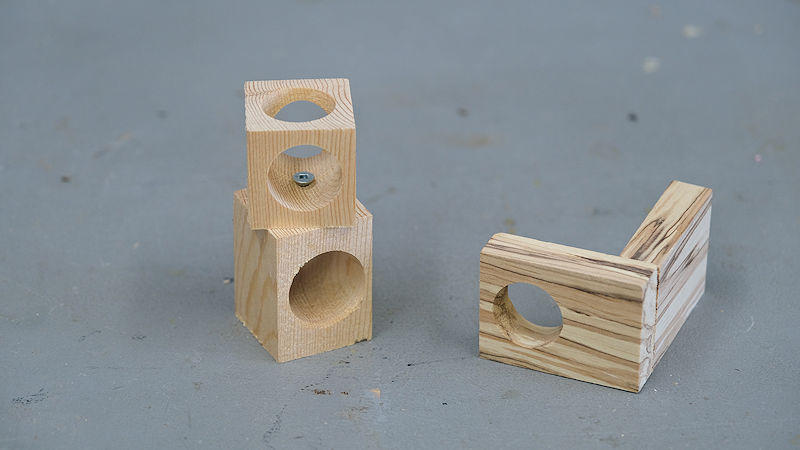
Some of the short cuts that I made, on the left is the square version, but instead of a magnet, I simply used a wood screw to attach the 2 pieces together. Note, you will need to drill three sides, which makes it even more attractive, but be sure to drill out the end grain first because if you try to do it last the whole cube will likely collapse with the drilling pressure.
The version on the right is one where you could easily install a magnet on backside revealed in the picture, easy to do and now you have a magnetic mini flower pot that will attach to any metal surface.
Colin Knecht
woodworkweb


