More new ideas and suggestions from subscribers with some fascinating wrinkles on getting more value by adapting other tools and non-woodworking items for the workshop ...
Subscriber Submitted Woodworking Tips & Tricks - Episode 22
Rob in Australia sent this tip in, for anyone who has problems aligning the sides of their picture frames for gluing, and when they are still ...
.. in the glue-up stage, Rob suggests marking a fine line across the joint that you can then use as a reference when it comes time to actually glue the sides together, and how you have a reference line that you can use for the alignment.

Another thought on that is to make a "squaring jig" for your workbench, I have covered this off in previous videos and you can check that out by typing in squaring jig in the search box above, or click HERE to see what that is an how to make ... just another idea for squaring up boxes and picture frames.
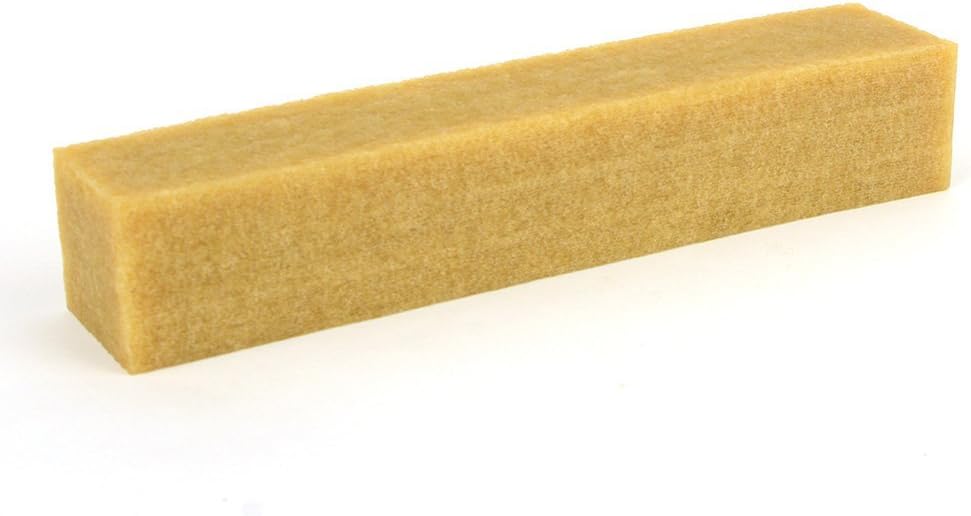
Next was Hal who sent us 2 tips ... first, he mentioned that you can use a belt sander eraser to also erase pencil lines on wood ... I did not know this and it works! That's handy to know.

If you are not familiar with belt sander erasers, they will also clean any sandpaper and give you more use out of sanding discs and belts by removing the clogging of duse within the grit ...
You can check them out on Amazon - HERE
The second tip from Hal was to use motorcycle anti-fog on your woodworking goggles or shield, my goggles don't get fogged but my face shield does and it would be nice to see what I am doing sometimes so an anti-fog is a great tip for that ... thanks Hal

Here's a tip from Juan who suggests using some wax, like paraffin, on the sole of your plane blades to help them skip across the wood more easily. This is an old, old trick but I don't think I have ever mentioned it before now. It doesn't make much difference on shorter planes but on long planes, it makes a BIG difference. Great tip, thanks Juan

Here's a neat idea from Edward for finishing smaller items. In the photo he sent me, he was finishing some chess pieces which are perfect for this kind of finishing job. What Edward does is use double-sided tape to attach the smaller pieces to a flat surface, like a board, then he can finish all sides at the same time, and is especially a great idea when you are using a spray finish. Thanks, Edward, I can use this tip myself.

Here's a tip from Joe who discovered that a Digital Angle Gauge, which is normally used for setting angles of the blade on Table Saws and Cross-Cutting saws like a Mitre Saw, but can also be used for setting the angle of a plane or chisel blades for sharpening. It's far more accurate than the "distance" method I use now, so I am going to see how replicate-able this setup is ... in any case, this is a great idea for setting the angle of blades which is often at 25 degrees ... you can see I am close.

For more information on Digital Angle Gauges, you can check this one out on Amazon - HERE
And going along with the same theme of Digital Angle Gauges, Richard uses his as a stopper for cutting thin strip pieces on his table saw. I tried mine, but the magnet is a little bit weak and the plastic of the body doesn't take much to move the gauge when it is in place, so my own version of Angle Gauge is not best for this, but if yours has a more powerful magnet, this tip would be perfect for you.

Thanks, everyone for your tips and ideas, we all look forward to hearing more.
Colin Knecht
woodworkweb


