Lazy Susan's have got to be the handiest things for serving devices whether stand-alone or on a dining room table, a picnic table or on a snack table. The only real problem is that some of them can take up so much room ... but there is a way to economize on the size without giving up on the amount of serving space and that is my making another level to them.
How to Make a Lazy Susan Turning Table - 2 TIERS!
I wasn't sure what kind of center I wanted for the upper level so decided to make a prototype before making a final version. My first version had a round center column which I did not keep on so wanted to try this style of having simple square wood, but with an arc cut into them to accommodate later bowls and serving dishes ...
For this build, I was using some old 3/4" plywood that had bees sitting around for a while and not really big enough to make other things from but perfect for a build like this.
The first thing was to make some round ... I decided that 2- 12" and one 16" would be a good start. To make these I decided to use my router and the M-Power Router Jig CRB& that I reviewed a couple of months ago because I wanted nice crisp clean and accurate edges on the rounds, and sure enough ... the CBR7 did an excellent job.

Once I had the rounds, the next thing was to figure out how high the second tier should be. After trying a couple of alternatives, I finally settled on 8 inches between the bottom and top tier. I cut the wood and marked an arc in the outside edges ... cut the wood to length on the sliding miter saw, then cut the arcs on my bandsaw.
Next step was to ease the edge of those arcs with a round over bit in my trim router, then glue the pieces together. I opted to just use one clamp in the middle ... double checked that they were aligned and in a couple of hours, they were ready to use.
I fastened the center column to the bottom round with countersunk screws, then attached the top round to the center column using glued in dowels. I could have used screws in the top as well and used wooden plugs to hide them but opted for dowels instead.

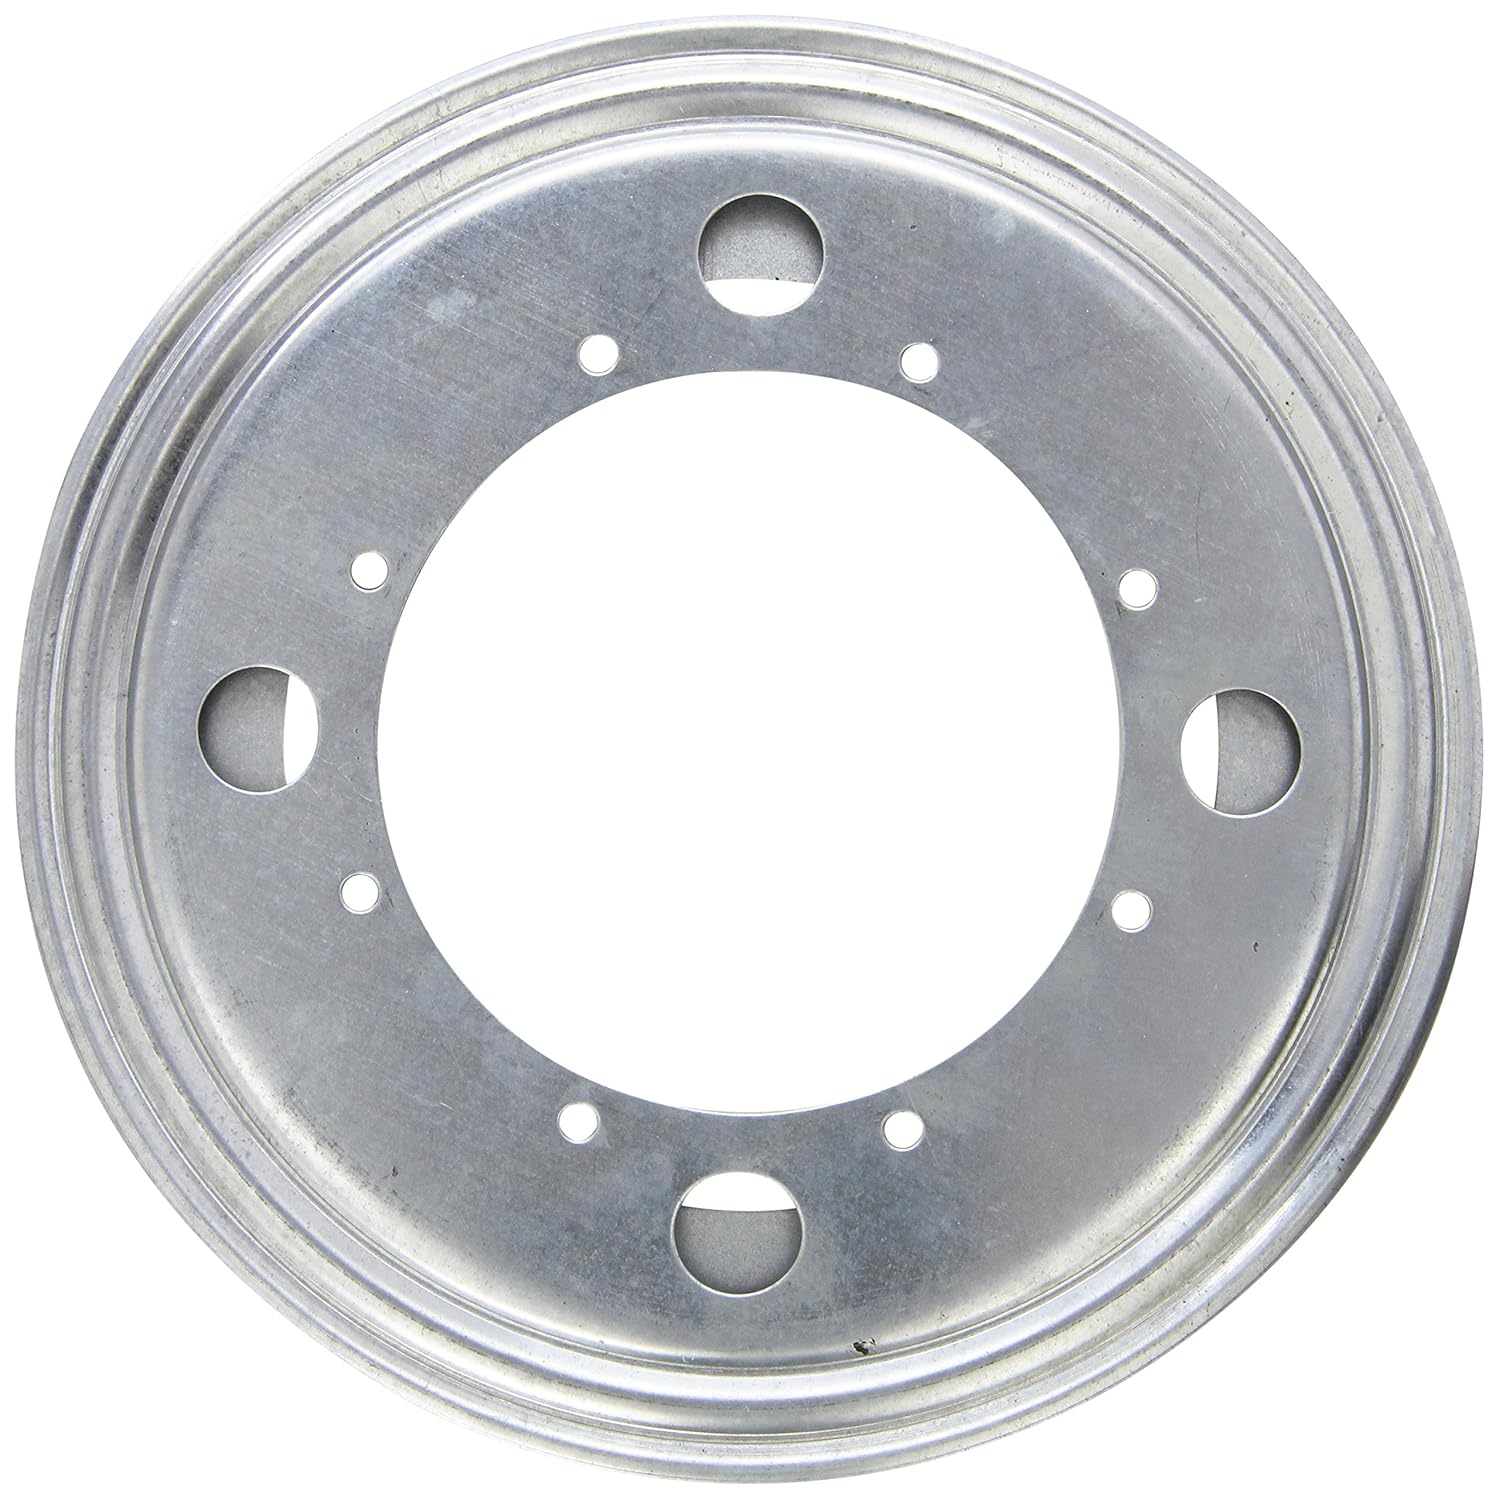
With the top part done, all that was left was to attach the base, and of course the lazy Susan mechanism ... which is not nearly as difficult to attach as some have agonized about.
All of these Lazy Susan mechanisms attach the same way ... you, first of all, decide which side needs to attach first, and which side is attached second. Always the first side for attaching is the one that is mostly straightforward, the on that is easiest to attach. The second side that needs attaching will need to be accessed through a hole in the wooden base that you will drill.

And that's it ... the Two-Tier Lazy Susan is complete and is a perfect size for smaller tables and smaller venues, while still holding a good number of items, it's the perfect catering accessory.
Copyright Colin Knecht
woodwokweb.com


